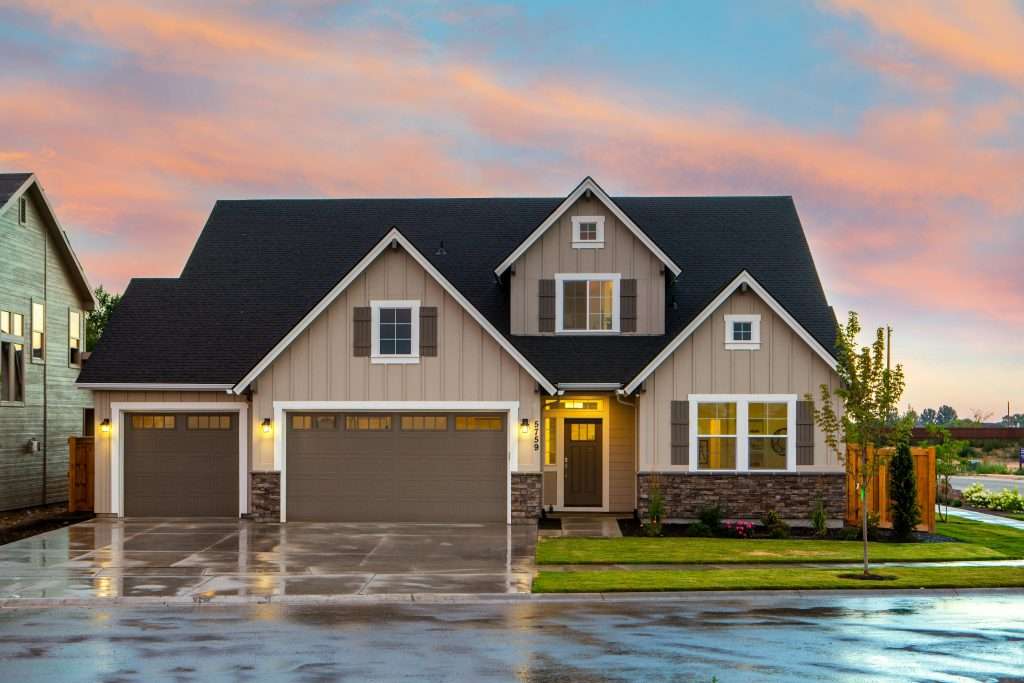
Introduction
Installing metal roofing can seem like a daunting task at first glance, but with the right tools and a step-by-step guide, it can be a rewarding DIY project that not only enhances the aesthetic appeal of your home but also boosts its durability. Metal roofs are known for their longevity, resistance to extreme weather conditions, and energy efficiency, making them an excellent choice for homeowners looking to upgrade their roofing systems. In this blog post, we’ll walk you through the process of installing metal roofing in 13 manageable steps, complete with pictures to make your DIY journey easier. Whether you’re a seasoned DIY enthusiast or taking on a project of this scale for the first time, our guide is designed to provide you with all the information you need to successfully install your new metal roof. Get your tools ready, and let’s dive into the world of metal roofing installation!
Benefits of Metal Roofing

Installing a metal roof isn’t just about covering the top of your home—it’s about investing in a host of benefits that improve your home’s value and your quality of life. So, let’s break down the main perks!
Longevity
One of the most compelling reasons to choose metal roofing is its longevity. Metal roofs can last anywhere from 40 to 70 years, depending on the material. This stands in stark contrast to traditional asphalt shingle roofs, which typically need to be replaced every 20 years or so. Over time, the upfront cost of a metal roof pays for itself, thanks to its long lifespan.
Durability
Metal roofs are exceptionally durable. They’re designed to withstand high winds, resist impacts from hail, and even fend off fire. Unlike other roofing materials, metal doesn’t rot, split, crack, or warp. Plus, it’s pest-resistant, so you won’t have to worry about termites or other critters making a home out of your roof. This durability ensures your home stays protected in various conditions, making metal roofs a safe and reliable choice.
Necessary Tools and Materials

Now that you’re familiar with the benefits of metal roofing, it’s time to gather the tools and materials you’ll need for the installation process.
Tools
Here’s a list of tools you’ll need to efficiently and safely install your metal roof:
– Tape measure
– Metal snips for cutting
– Screw gun
– Hammer
– Chalk line
– Level
– Ladder
Remember, safety is paramount, so also consider personal protective equipment like gloves, safety glasses, and non-slip boots.
Materials
As for materials, you’ll primarily need the following:
– Metal roofing panels or shingles (quantity depends on roof size)
– Roofing underlayment
– Screws specifically designed for metal roofing
– Flashings
– Sealant or roof caulking
Before purchasing materials, it’s crucial to carefully measure your roof and consult with a professional to ensure you get the right quantity and type of materials for your specific roof structure and local climate conditions.
Announcing The World’s Largest Collection of
16,000 Woodworking Plans
Preparation Steps
Before diving into the materials and the nitty-gritty of installing metal roofing, it’s crucial to start with preparations that will ensure a smooth process. Whether you’re a DIY enthusiast or a seasoned professional, paying attention to these initial steps can make all the difference.
Safety Precautions
Safety should always be your top priority. Metal roofing installation involves working at heights, handling sharp materials, and using power tools. To stay safe, wear protective gear including gloves, safety glasses, and sturdy boots with good grip. It’s also wise to use a safety harness if you’ll be working on a steep roof. Always be mindful of your surroundings, and try to work with a buddy for an extra layer of safety.
Roof Inspection
Before you begin, a thorough roof inspection is essential. This will allow you to identify any issues such as rot, structural weaknesses, or areas that may need reinforcement. It’s important to address these problems before installing your new metal roof to ensure longevity and performance. Look for signs of moisture, holes, or previous repairs that might indicate underlying issues.
Installing Underlayment
After preparing the roof and ensuring everything is safe and sound, it’s time to proceed to the next critical phase: installing the underlayment.
Types of Underlayment
There are several types of underlayment you can choose from, ranging from traditional felt to synthetic sheeting. Synthetic underlayment is becoming increasingly popular due to its durability and resistance to moisture. Felt is a cheaper option but might not offer the same level of protection. Reflective underlayments are also available, which can help reduce heat absorption and improve energy efficiency.
Installation Process
The installation process involves rolling out the underlayment over the bare roof deck. If you’re using felt, it should be rolled out horizontally with a slight overlap on each strip to ensure no water penetration. Secure the underlayment with cap nails or staples, making sure it’s tight and smooth without any wrinkles or bubbles. For synthetic underlayments, follow the manufacturer’s instructions as these can vary. Remember, the underlayment is your roof’s secondary barrier against moisture, so it’s essential to get this step right.
Setting Up Roof Panels
Setting up roof panels is a critical step in installing metal roofing. This phase lays the foundation for a durable and weather-resistant roof.
Panel Types
When it comes to metal roofing, there are various panel types to choose from, including corrugated, standing seam, and metal shingles. Each type comes with its unique installation process and aesthetic appeal. It’s crucial to select the one that best suits your home’s architectural style and your personal preferences.
Panel Installation
To install metal roof panels, follow these steps:
– Measure your roof to determine the number of panels needed.
– Cut the panels to size, if necessary, using metal shears or a circular saw with a metal-cutting blade.
– Start at the roof’s edge and lay the first panel in place. Make sure it’s perfectly aligned.
– Overlap the next panel over the first by about an inch or according to the manufacturer’s recommendation.
– Continue this process until the entire roof is covered.
Securing Roof Panels
Once the panels are in place, your next task is to secure them properly to prevent water infiltration and wind damage.
Fastening Techniques
Different fastening techniques can be used, depending on the panel type and manufacturer’s instructions. Screws are commonly used, and they should be driven into the raised ridges of the panels—not in the valleys, where water collects.
Sealant Application
Applying sealant is a crucial step in securing roof panels. Sealant should be applied:
– Along the edges of the panels to prevent water seepage.
– Around any roof penetrations, like vents and skylights, to ensure no water leaks into the house.
By following these steps and taking care in the installation process, you can install metal roofing that is not only aesthetically pleasing but also durable and weather-resistant.
Chimney and Vent Flashing
Before you wrap up your metal roofing project, ensuring that chimneys and vents are properly flashed will prevent water from sneaking its way in. These areas are notorious for leaks, so pay close attention to this step!
Flashing Materials
For flashing around chimneys and vents, you’ll typically use a combination of metal flashing, sealant, and, in some cases, rubber boots for vent pipes. Metal flashing should match the material of your roof for a consistent look and optimum durability.
Flashing Installation
Installation begins with measuring and cutting your flashing to fit snugly around the chimney or vent. It’s crucial to secure it properly – both to the roof itself and the chimney or vent. Seal the edges with a high-quality sealant designed for roofing applications. For vent pipes, using a rubber boot that fits over the pipe can provide additional protection against water intrusion. Ensure all installations are tight and sealed to keep out water.
Installing Ridge Caps
The ridge cap is the final, critical piece of your roofing puzzle, providing both protection and a finished look to the peaks where two roof slopes meet.
Ridge Cap Types
There are several types of ridge caps available, including metal pieces that match your roofing, and ventilated options that help improve attic airflow. Choosing the right one depends on your roofing material and whether your attic requires additional ventilation.
Ridge Cap Installation
To install ridge caps, start at one end of the roof ridge and work your way to the other. Overlap each piece of ridge cap material according to the manufacturer’s instructions, typically about 6 inches. Secure each piece with roofing nails, taking care not to drive them in so tightly that they deform the metal. Apply sealant under each overlap for extra leak protection. Remember, precision and patience during this step will ensure your roof looks great and functions flawlessly for years to come.
Handling Roof Edges
Roof edges are crucial to get right because they can significantly affect your roof’s appearance and functionality. It’s essential to handle them carefully to ensure a polished look and effective water drainage.
Edge Trimming
Before installing any metal panels, you should trim the edges of your roof. This ensures that all sides are perfectly aligned and makes the actual installation of the roofing panels much smoother. Use a metal snip or an electric metal shear for a clean cut. Measure twice and cut once to avoid any costly mistakes. Remember, the goal is to have a neat, uniform edge that runs parallel to the roofline.
Drip Edge Installation
After trimming the edges, the next step is to install the drip edge. A drip edge is a metal (usually aluminum or galvanized steel) strip installed along the roof’s edges to guide water away from the fascia and into the gutters. Position the drip edge so it overhangs slightly off the side of the roof, and secure it in place using roofing nails. Ensure that it’s firmly attached to prevent wind uplift.
Gutters and Downspouts
Gutters and downspouts are essential components of your roofing system. They collect and direct rainwater away from your house, preventing water damage to your foundation and landscaping.
Installing Gutters
Measure the lengths around the edges of your roof where you plan to install gutters. Cut the gutter material to length and then, using gutter brackets, attach the gutters to the fascia of your house. Ensure there’s a slight slope towards the downspout locations for effective water flow. Seal all joins with gutter sealant to prevent leaks.
Placing Downspouts
Once your gutters are in place, identify the most effective locations for your downspouts. The aim is to direct water away from the house, so place them at corners or other strategic locations. Connect the downspout to the gutter with a downspout outlet—usually this involves cutting a hole in the gutter bottom and securing the outlet in place. Then, attach the downspout sections, ensuring they reach the ground or a drainage system. Use straps to secure the downspout against the house.
Inspecting the Finished Installation

After you’ve installed your metal roof, taking a step back to inspect the finished product is essential. This not only helps ensure everything is properly in place but also gives you peace of mind. Carefully examine each component from the shingles to the seams.
Quality Check
During your quality check, keep an eye out for any irregularities or imperfections. These could include:
– Loose screws or hardware
– Uneven seams or overlaps
– Scratches or damages to the metal panels
If you catch any of these issues, address them immediately to prevent any long-term damage to your new roof. It’s crucial that every part of your roofing system is perfectly aligned and secure for it to function correctly.
Final Touches
Finally, adding finishing touches can significantly enhance the appearance and longevity of your metal roof. Consider applying a coat of protective sealant specially designed for metal roofing. This can help protect against rust, corrosion, and fading from sun exposure. Make sure to clear the roof and gutters of any debris or leftover materials. Taking these extra steps not only improves the aesthetic appeal of your roof but also ensures its durability for years to come.
Also, Read
How to Start a Roofing Company in 2024
Conclusion
Installing metal roofing by yourself can be a rewarding DIY home improvement project. By following the detailed 13-step guide, you’ve learned how to properly prepare your roof, measure and cut panels, secure them in place, and ensure everything is sealed against the elements. Remember, the keys to a successful metal roofing installation include careful planning, precise measurements, adherence to safety procedures, and patience. Don’t rush the process—take your time to ensure each step is done correctly.
Outfitting your home with a metal roof not only boosts its curb appeal but also provides durable, long-lasting protection against weather conditions. With your new skills, you can take pride in the work you’ve done and the significant savings on professional installation costs. Plus, the satisfaction of completing such a project on your own is a reward in itself. Don’t hesitate to refer back to this guide or consult additional resources if you encounter uncertainties or need a refresher on specific steps. Happy roofing!